Free Shipping on US orders over $150
-
Collections
-
Bikini
- One Pieces
- Cover-Ups
- Men's
- Sale
- MODA GLAM x L'ANIMAL
- Nice Breed
-


The fastest way to make a sarong wearable is to wrap it around your hip or chest and secure it with a tight double not. From that one move, you can build six distinct looks: a skirt, a halter dress, a strapless dress, a one-shoulder wrap, a shawl or cover-up, and a shortened mini. Master the double knot first, and every other style follows easily.
TL;DR:
- Choose breathable fabrics like rayon or cotton to ensure knots stay secure during movement, unlike slippery synthetics such as polyester or silk.
- Tightly tying a double knot at the right height is essential for all styles, and testing the grip before heading out reduces wardrobe slip-ups.
- Different sarong sizes suit specific styles: rectangular for skirts and shawls, larger square for dresses, with folding in half shortening the length without cutting.
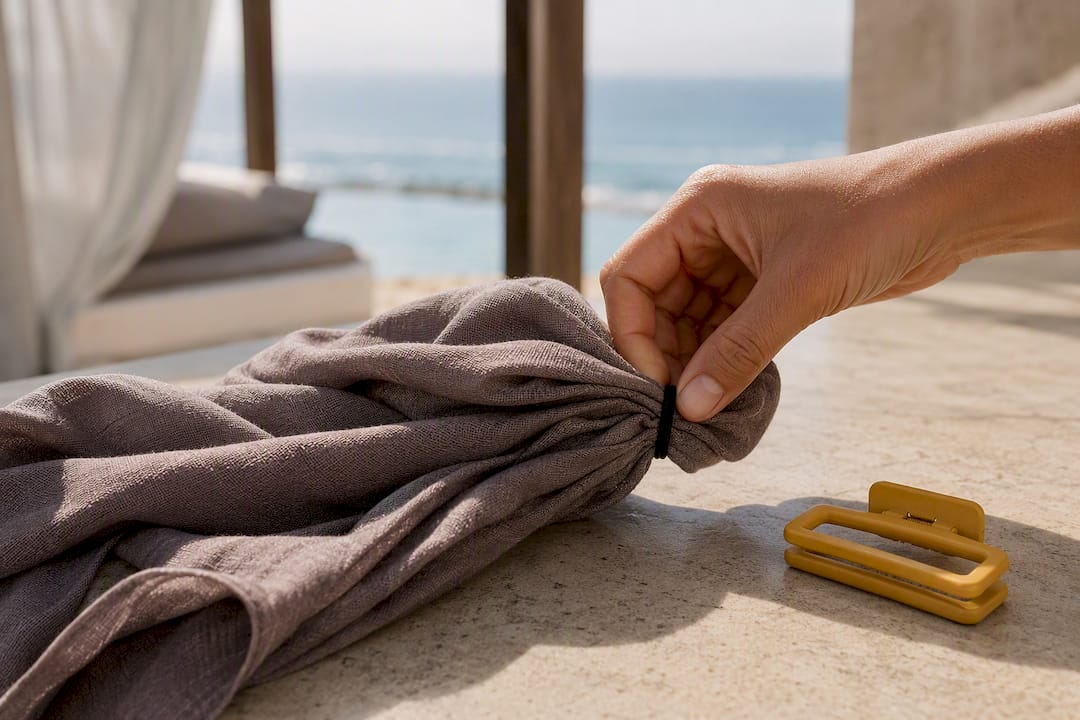
- Reinforce knots with hair ties, clips, or belts, especially for strapless or slip styles, to prevent slipping, and perform a quick stress test to verify security.
- The style you select should match your destination, with quick wraps for beach lounging and more structured or layered looks for dining or parties.
Fabric choice makes or breaks your knot. Rayon and cotton hold knots far more reliably than slippery synthetics because they’re breathable and create enough friction to grip themselves. Polyester and silk sarongs look beautiful on the shelf but slide loose within minutes of movement, which is why so many people give up on wrap styles altogether.
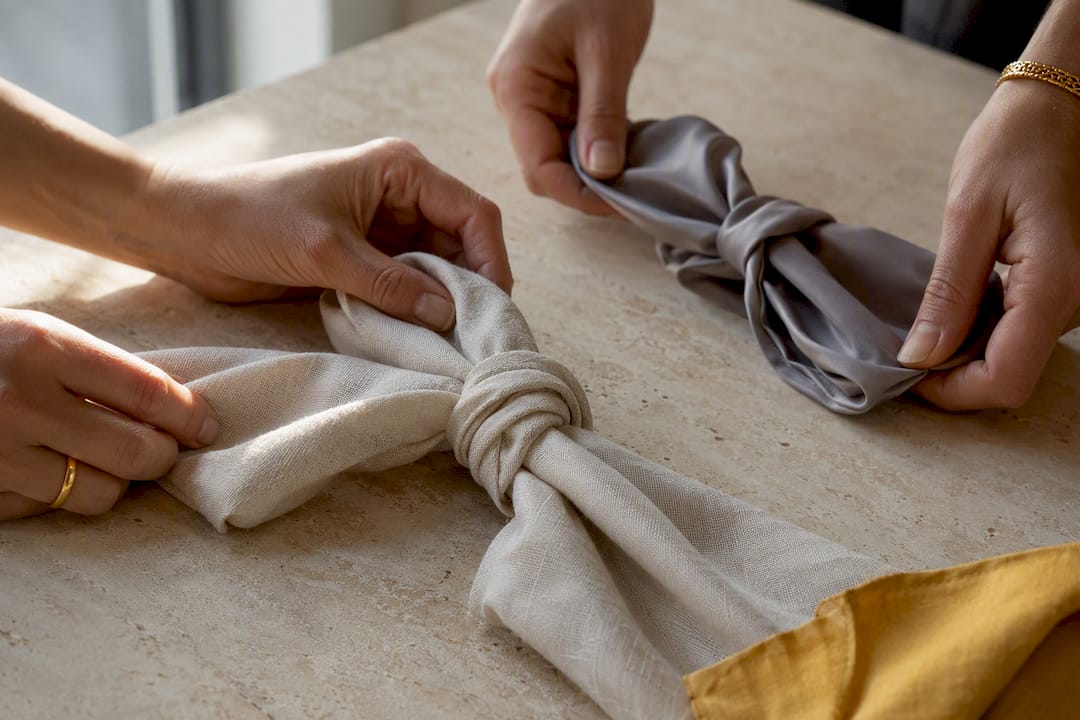
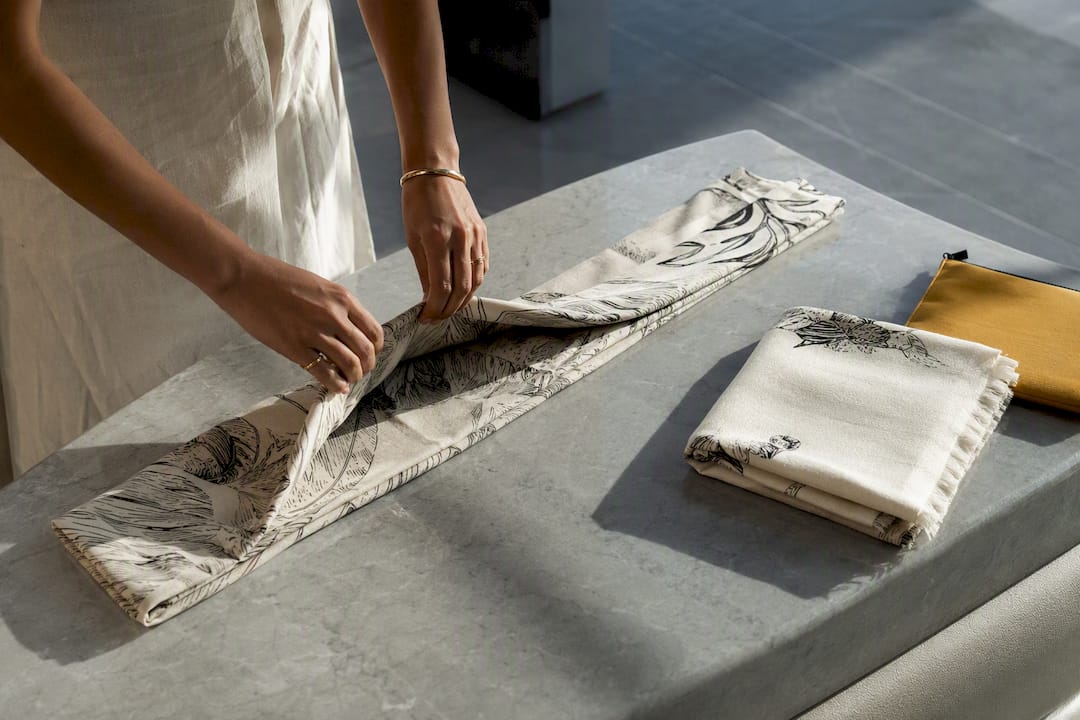
Size matters just as much as material. A rectangular sarong (typically 60 by 40 inches) works best for skirts and shawls, while a larger square cut gives you more fabric to fold into halter or strapless dress styles. Folding a rectangle in half lengthwise instantly shortens it into mini length without cutting anything.
Keep a few small tools on hand:
Pro Tip: Test your sarong’s grip by tying a simple knot at home and tugging gently. If it slips on dry land, add a hair tie before you ever get near sand or water.
Each style below builds on the same core skill: wrap, overlap, knot. Follow the steps in order, and don’t rush the tightening, since a loose first knot ruins the whole look.
1. Classic skirt wrap
2. Halter dress
3. Strapless tube dress This is the style most people get wrong on the first try, mainly because they undersell the knot. Hold the sarong behind your back at armpit level, bring both ends to the front, and tie a tight double knot directly above the bust. Adjust the fabric down slightly for coverage, then test it by raising both arms overhead. If it slips even an inch, retie tighter.
4. One-shoulder wrap
5. Shawl or cover-up For quick coverage, simply drape the sarong over your shoulders and let it hang loose, no knot required. For more structure, cross the two ends in front and tie at the side, similar to the one-shoulder method but looser. This toss-and-go version takes under 10 seconds, which is why travel editors consistently recommend sarongs as compact, multiuser packing pieces that double as blankets or scarves.
6. Mini or midi length
Short, numbered steps like these work because visual how-to guides pairing brief steps with a single photo cue consistently outperform long paragraph instructions for readers trying to follow along in real time. If you’re learning a style for the first time, prop your phone against a mirror and follow one step at a time rather than reading the whole sequence upfront.
Three culprits cause almost every slipping complaint: slick fabric, a knot tied loose instead of tight, and fabric that’s gotten heavy and wet. Diagnose the problem before you fix it. If the sarong slides down steadily rather than all at once, the fabric itself is likely too smooth. If it stays put until you move, the knot wasn’t tight enough to begin with.
The fixes are simple and don’t require retying your whole outfit:
A hair tie or clip tucked into the knot solves most slipping problems instantly without changing how the outfit looks from the outside. Test your knot before you leave the house: raise your arms, take a few exaggerated steps, and bend at the waist. If everything stays put through that mini stress test, it will hold at the beach.
Pro Tip: Keep a spare hair tie and a bag clip in your beach tote at all times. Both weigh nothing and solve 90 percent of wardrobe emergencies on the spot.
The right tie depends on where you’re headed, not just how you look tying it.
Accessories change the mood more than the knot does. A thin belt adds structure to a loose skirt wrap. A wide-brim hat pairs naturally with the shawl style for sun protection. And editorial stylists point out that the same tie produces dramatically different silhouettes depending on how the fabric is folded or doubled before you knot it. A high knot placement shortens and tightens the silhouette; a low, loose knot relaxes it into something closer to resortwear than swimwear.
For more on layering coverups over swimwear, our guide to sheer beach coverups breaks down pairing options in more depth.
Choose a fabric with enough weight to drape rather than cling. Bold prints work best on a larger scale. A busy, tiny print tends to shrink your silhouette in photos.
Folding a sarong in half horizontally before tying trims excess bulk and creates a cleaner line for dress styles, a shortcut worth remembering every time you pack one. That same fold turns your sarong into a travel blanket or a scarf on the plane home. Rinse and air dry it the same careful way you’d treat any swimsuit fabric, and it will hold its color and shape for seasons of beach trips.
A great tie only goes as far as the fabric underneath it. Our swimwear and resort collections are cut with drape and knot security in mind, so the skirt wrap or strapless dress you just learned actually holds its shape from the sand to dinner.
Master the double knot first. Practice it at hip height for a skirt, at chest height for a dress, and you already know six styles. Keep a hair tie in your bag, test the knot before you walk out the door, and give yourself permission to experiment.
— Lital
For visual step-by-steps, wikiHow’s sarong guide walks through each knot with photos. Harper’s Bazaar covers fabric and folding for a more editorial angle, and Lulus rounds up quick style recipes for the six most requested looks.


